Hong Kong Egg Tarts (Dan Tat)
Silky, wobbly custard in a crisp cookie-style crust — the dan tat I chased through every Chinatown bakery until I could finally make them at home.
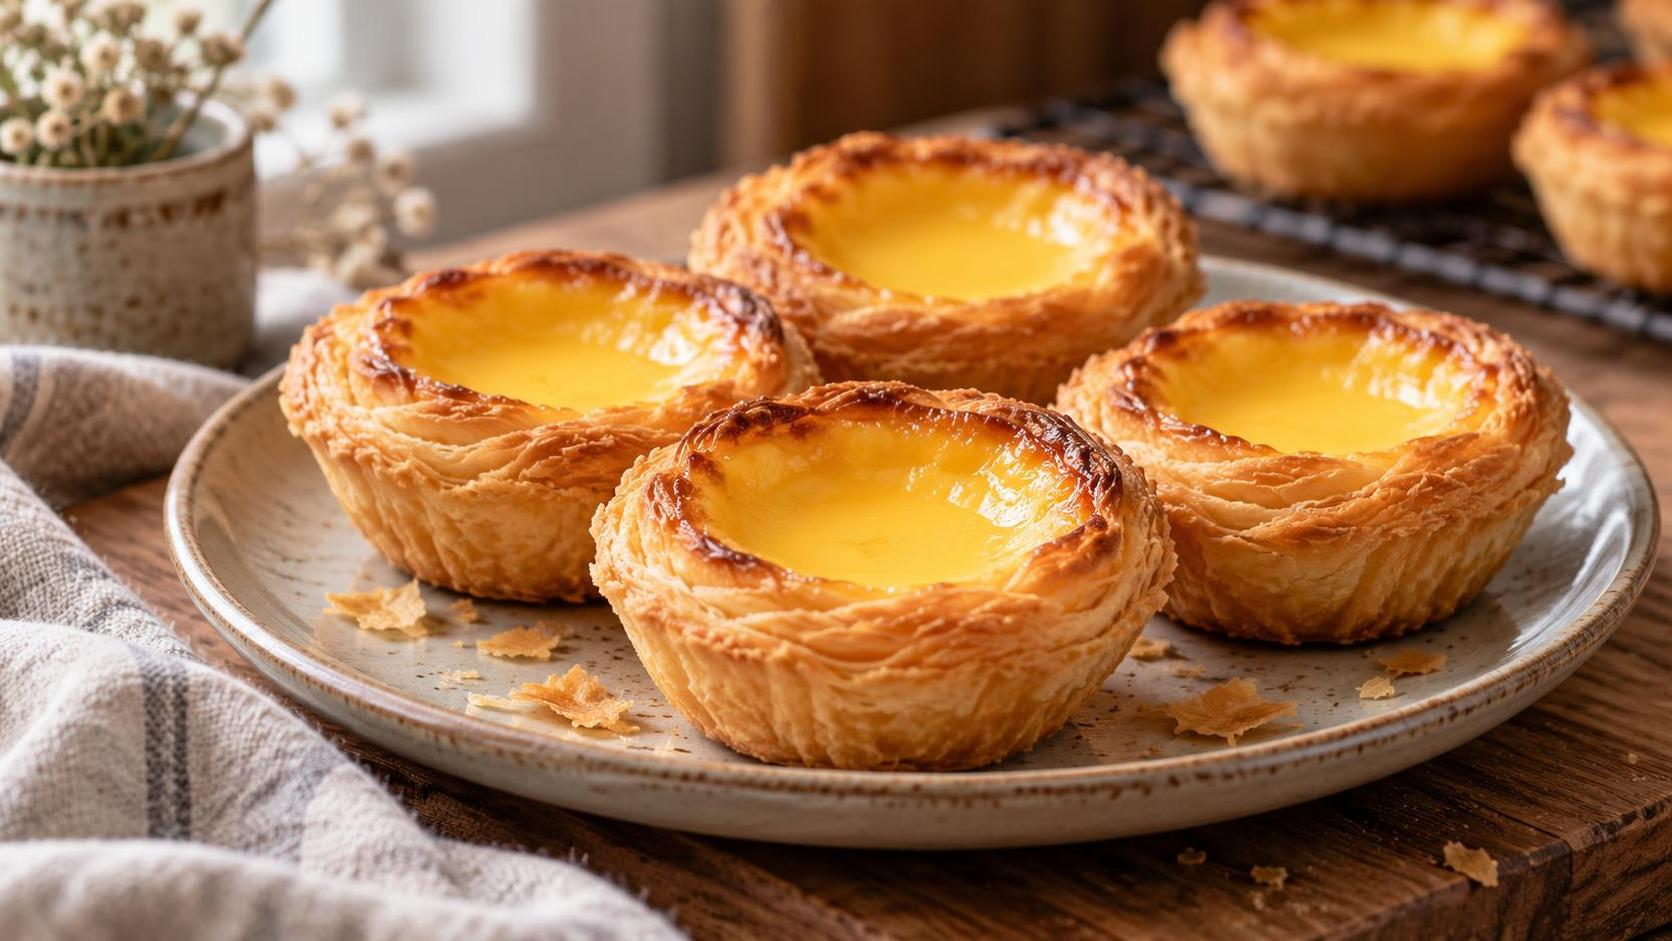
Egg tarts are the reason I could never walk past a Chinese bakery without stopping. Warm from the oven, the custard trembling when you tilt the tin, that smell of butter and vanilla and eggs — dan tat are the taste of every dim sum lunch and every Saturday errand of my childhood. For the longest time I assumed they were bakery magic, something you bought and never made.
My first attempts were humbling. The custard puffed up like a soufflé and then collapsed into a spongy, pockmarked mess, full of little holes. It took me a while to understand that a smooth, glassy custard is all about not baking it too hot and not whipping air into it. Strain the custard, skim the bubbles, and keep the oven honest.
The crust was its own battle. I wanted the cookie-style shell you find in the classic Hong Kong version — tender and short, snapping cleanly, not flaky like a Portuguese tart. That comes from a butter-and-sugar dough, handled gently and kept cold so it does not turn tough.
When they finally came out right — smooth amber custard, a crust that shattered just so — I stood in my Vancouver kitchen and felt about eight years old again. These take patience, but they are worth every finicky step.
At a glance
- Prep
- 40 min
- Cook
- 25 min
- Total
- 65 min
- Yield
- 12 tarts
- Difficulty
- Hard
Ingredients
- **For the crust:**
- 225g all-purpose flour
- 125g butter, softened
- 55g icing sugar
- 1 large egg, beaten
- 1/2 tsp pure vanilla extract
- Pinch of salt
- **For the custard:**
- 3 large eggs, room temperature
- 110g granulated sugar
- 220ml hot water
- 80ml evaporated milk
- 1/2 tsp pure vanilla extract
Method
-
Make the crust: Beat the softened butter and icing sugar until pale and creamy. Add the beaten egg and vanilla and mix until combined. Add the flour and salt and mix just until a soft dough forms — do not overwork it. Wrap and chill for 30 minutes.
-
Make the sugar syrup: Dissolve the granulated sugar in the hot water, stirring until completely clear. Let it cool to lukewarm — hot syrup will scramble the eggs.
-
Make the custard: Gently whisk the eggs just until combined, trying not to create foam. Whisk in the cooled sugar syrup, evaporated milk, and vanilla. Strain the mixture twice through a fine sieve into a jug, then skim off any bubbles from the surface — this is what gives a glassy, hole-free custard.
-
Preheat the oven to 200°C (400°F). Divide the chilled dough into 12 pieces. Press each piece evenly into a tart tin or muffin cup, thin along the bottom and slightly thicker up the sides, coming just to the rim.
-
Pour the strained custard into each shell, filling about 80 to 90 percent full. Skim off any final surface bubbles with a spoon or a quick pass of a kitchen torch.
-
Bake at 200°C for 10 minutes, then reduce the oven to 160°C (325°F) and bake for another 10 to 15 minutes. The custard is done when it is just set with a slight wobble in the very centre and a toothpick inserted stands upright on its own.
-
Let the tarts cool in the tins for a few minutes, then carefully remove. They are best eaten warm, when the custard is silky and the crust is crisp.
Tips & Swaps
- Keep the sugar syrup lukewarm before adding it to the eggs — too hot and you will cook the eggs and get a lumpy custard.
- Strain the custard twice and skim every bubble. This single step is the difference between a glassy tart and a spongy, holey one.
- Do not overbake. Pull the tarts while the centre still jiggles slightly — a fully firm, cracked custard is overbaked and loses its silkiness.
- The two-stage oven temperature matters: the initial blast sets the crust, and the lower heat cooks the custard gently so it stays smooth.
- Chill the dough if it gets warm and sticky while shaping. Cold dough presses in more evenly and bakes up tender rather than tough.
Nutrition
Per serving · 1 tart
- Calories
- 200 kcal
- Fat
- 10 g
- Saturated fat
- 6 g
- Cholesterol
- 75 mg
- Sodium
- 80 mg
- Carbs
- 24 g
- Fiber
- 0 g
- Sugar
- 14 g
- Protein
- 4 g
Estimated values, calculated per serving. Actual nutrition varies with ingredients and portion sizes.
You might also like
 Cakes
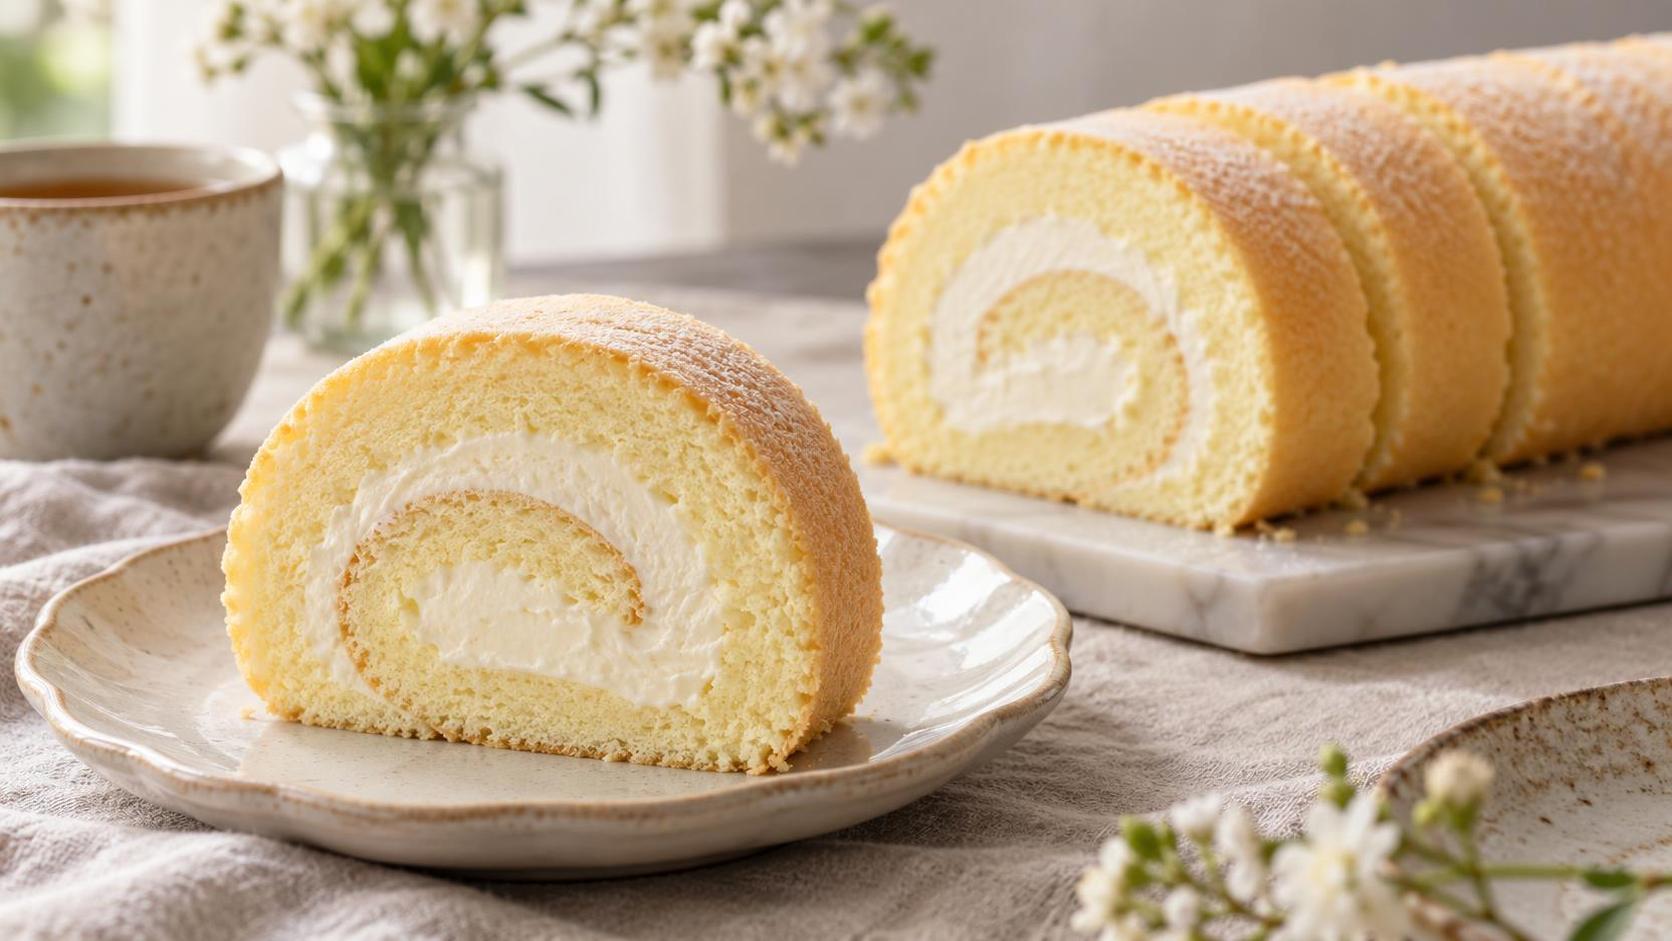
Cakes Chinese Bakery Swiss Roll
The moist, cottony Swiss roll from the Chinese bakery case — a soft chiffon sponge rolled around lightly sweetened cream that never cracks.
 Buns & Bread
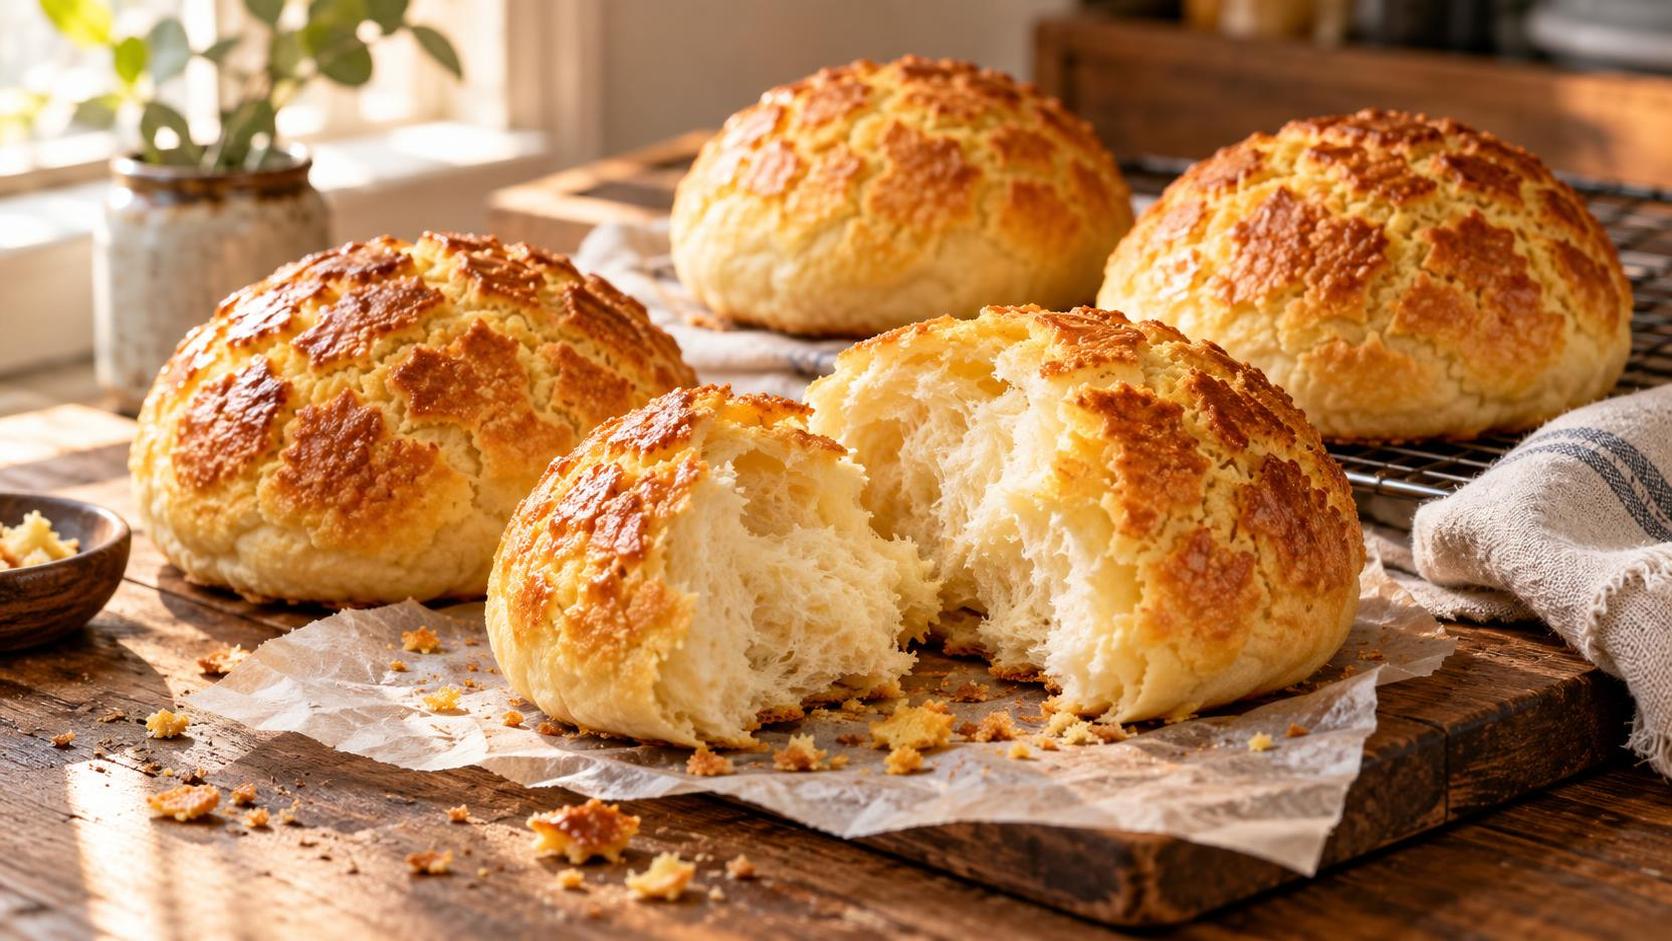
 Pineapple Buns (Bo Lo Bao)
Pillowy milk-bread buns crowned with a sweet, crackly cookie top — the bo lo bao that has no pineapple in it at all, just the smell of the bakery I love.